Contents
Rewena Bread, Traditional Māori Bread!
Most of you know me as a writer, but I’m also an equine (horse) veterinarian and teacher. With the onset of COVID-19 home isolation or quarantine, or School Time Out, I wanted to use what I’ve learned through my life to help as many of you as possible to enjoy the extra time you get to spend with your families. And your kitchen!
Yeast has been in short supply lately around here, so this seemed the best time to put this recipe out!
This is my adaptation of a traditional recipe. In case you don’t know, all of my novels contain recipes and this one is featured in my third novel, A Sea of Green Unfolding. While I say traditional, it is only traditional since introduction of flour by Europeans, but it’s been a favourite in NZ since then!
xx
Lizz
How to Make Rewena Bread:
First you will need to make a starter bug. Plan to make this Hua Rēwana (starter bug) about a week before the time you want to make the Rewena:
Ingredients:
- 2 cup parāoa (flour)
- 4 tablespoons huka (sugar)
- 2 cooked rīwai / rewa (potato) or kumara (sweet potato)
Instructions:
Cut up and boil potatoes or kumara. Save water and mash by hand in cooled potato water.
Mix all ingredients together and put into a sterilized jar. Cover. Let it grow in a warm place. (Not a heating pad, too hot).
Feed it every day for at least seven days with:
- 1/2 cup flour
- 1 tsp sugar and
- enough water to mix it all in. Lumpy is fine.
- After a week, go ahead and make your Rewena Bread!
To improve bug for rising, at least once per week, mix into rēwana:
- 1 cup flour
- 1/2 cup sugar and boiled warm (not hot) potato water.
- If your water is chlorinated, boil it first, so the chlorine doesn’t kill the bug.

Rewena Bread
Ingredients:
- 4 cups high grade parāoa (flour)
- 2 tablespoons huka (sugar)
- 2 cups wai (water)
- 2 cups hua rēwana (starter bug)
Mix the flour and sugar, then make a well in the dry ingredients.
Add the bug and the water, then combine all ingredients.
Do not beat it. 🙂 Knead gently ONLY until mixture loses its stickiness (maybe five minutes?)
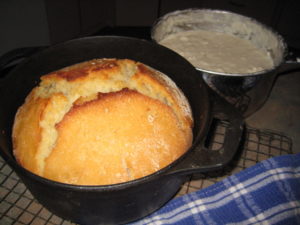
Place in greased dutch oven. Cover with cloth and leave to rise in warm place until doubled in size.
Heat oven to 425 degrees F(F) / 235 degrees C (C). Bake 10-12 minutes, then turn oven down to 360 F / 200 C for 10-12 minutes, then cook at 338 F / 187 C for about an hour.
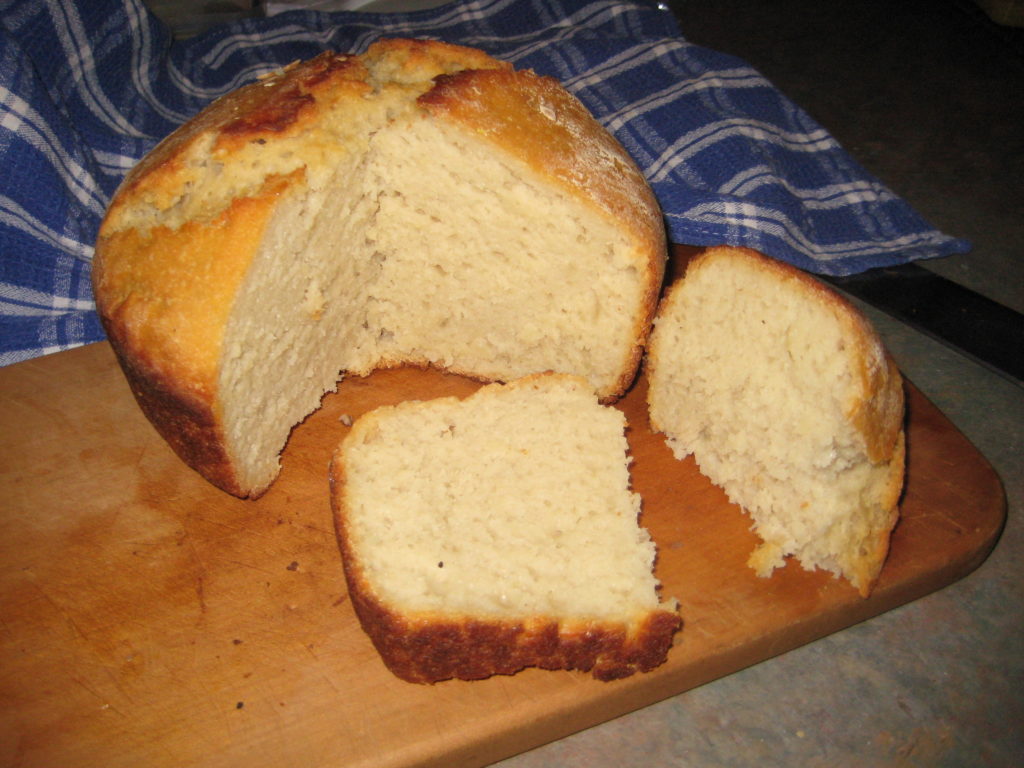
Enjoy with butter, honey, jam, whatever!
THE SCIENCE BEHIND BREAD MAKING
You thought you were going to get off easy after yesterday’s chemical reactions, eh?
Not so fast, bucko!
To those of you missing out on school, here’s a bit of biology and chemistry at once, and you get to eat the results (Apologies if you’re GF, but if you can be patient, I’ll be posting a recipe just for you soon!). Doesn’t get any better than that!
Okay:
In its most basic form, flour is made up mostly of carbohydrates, which are multiple sugar units stuck together. Different types of sugar have different structures, but I won’t torture you with that today. Anyway, in the absence of oxygen (reactions in the absence of oxygen are called anaerobic reactions, an=not) live yeast organisms breaks down the carbohydrate structures of your flour and other added sugars to alcohol and carbon dioxide in a process called fermentation. Remember carbon dioxide? that’s CO2 to you guys, from yesterday’s post about volcanos? The alcohol evaporates in the oven, forming its own gas bubbles, further contributing to bread rise.
Here are some questions to answer below:
1- What do you think all that CO2 and alcohol that’s generated by the yeast will do to your bread dough?
2- What did CO2 do to your liquid in the volcano?
3- If we used a flour that was more complex, or larger-grained, how do you think that would affect the rising of your bread? Hint: whole grains are harder to break down… how would this affect rates of reaction?
4- If you use larger chunks of grain (vs finely ground grain), how are rates of reaction to create CO2 affected and why does this happen? This is a NZ Level 2 question… you’ll see this again, might as well learn it now! 🙂
I found two very cool websites that go into these topics and how they affect the bread you make:
Remember to post piccies of your bread or of your family or bubble-mates making it! PLEASE???
PLEASE SHARE, ALL! THE MORE PEOPLE WE KEEP FROM GOING STIR-CRAZY BY LEARNING NEW SKILLS TOGETHER, THE BETTER!
